Friday, March 9, 2012

Welcome Home!

And welcome internet connection! No, really. The Charter guy left not 20 minutes ago and I'm already typing up a post. I have wanted to share pictures of our new house for weeks! We closed on the house at the end of February and have officially been staying here for two weeks today. And we are loving it! I'm so glad the majority of the moving business is done but we still have lots to do around here before it starts to feel like "ours".

Despite the chaos of unpacking, we have managed to tackle a few projects already and I will definitely be sharing those soon! Baby Girl will be here in just a few weeks so we are busying ourselves like crazy to get things ready before our sweet gal makes her appearance.

So in an effort to get this post actually up before my little guy awakens from nap, I will cut the chit chat and show the "Before" photos of the house which were taken the day we moved in. More details on what we plan to do in each room to come soon! I apologize in advance for the poor quality in pictures. It was getting dark when I took them so the lighting definitely wasn't at its best.

Our House! Okay, technically this picture of the outside was taken before our closing so it wasn't ours quite yet but the rest are from after closing :)

Oh and can I just say that the previous owners were FANTASTIC. The home was FSBO so we worked directly with them and it was such a pleasure. They even left us oodles of stuff. Some of which you will see in the pictures and I will point them out in later posts as well.
The foyer from the front door


The Dining Room to the right of the foyer


The office to the left of the foyer and front door. 


The living room (the paneling is one of our favorite things!)


The Master Bedroom on the Main Level. We are actually using this room as a playroom and staying upstairs in an extra room until our kids are bigger.


Master Bathroom. Yes, we are still using this bathroom to get ready in. There is a walk-in closet in here as well but no picture.


The kitchen


From the side door entrance off the kitchen


Laundry Room


Half Bath


My Pantry!


Pajama stairs from the kitchen


Landing/nook area at top of stairs


Hallway of upstairs


Our little man's room


Our room


Bonus space off our room


Full bath upstairs


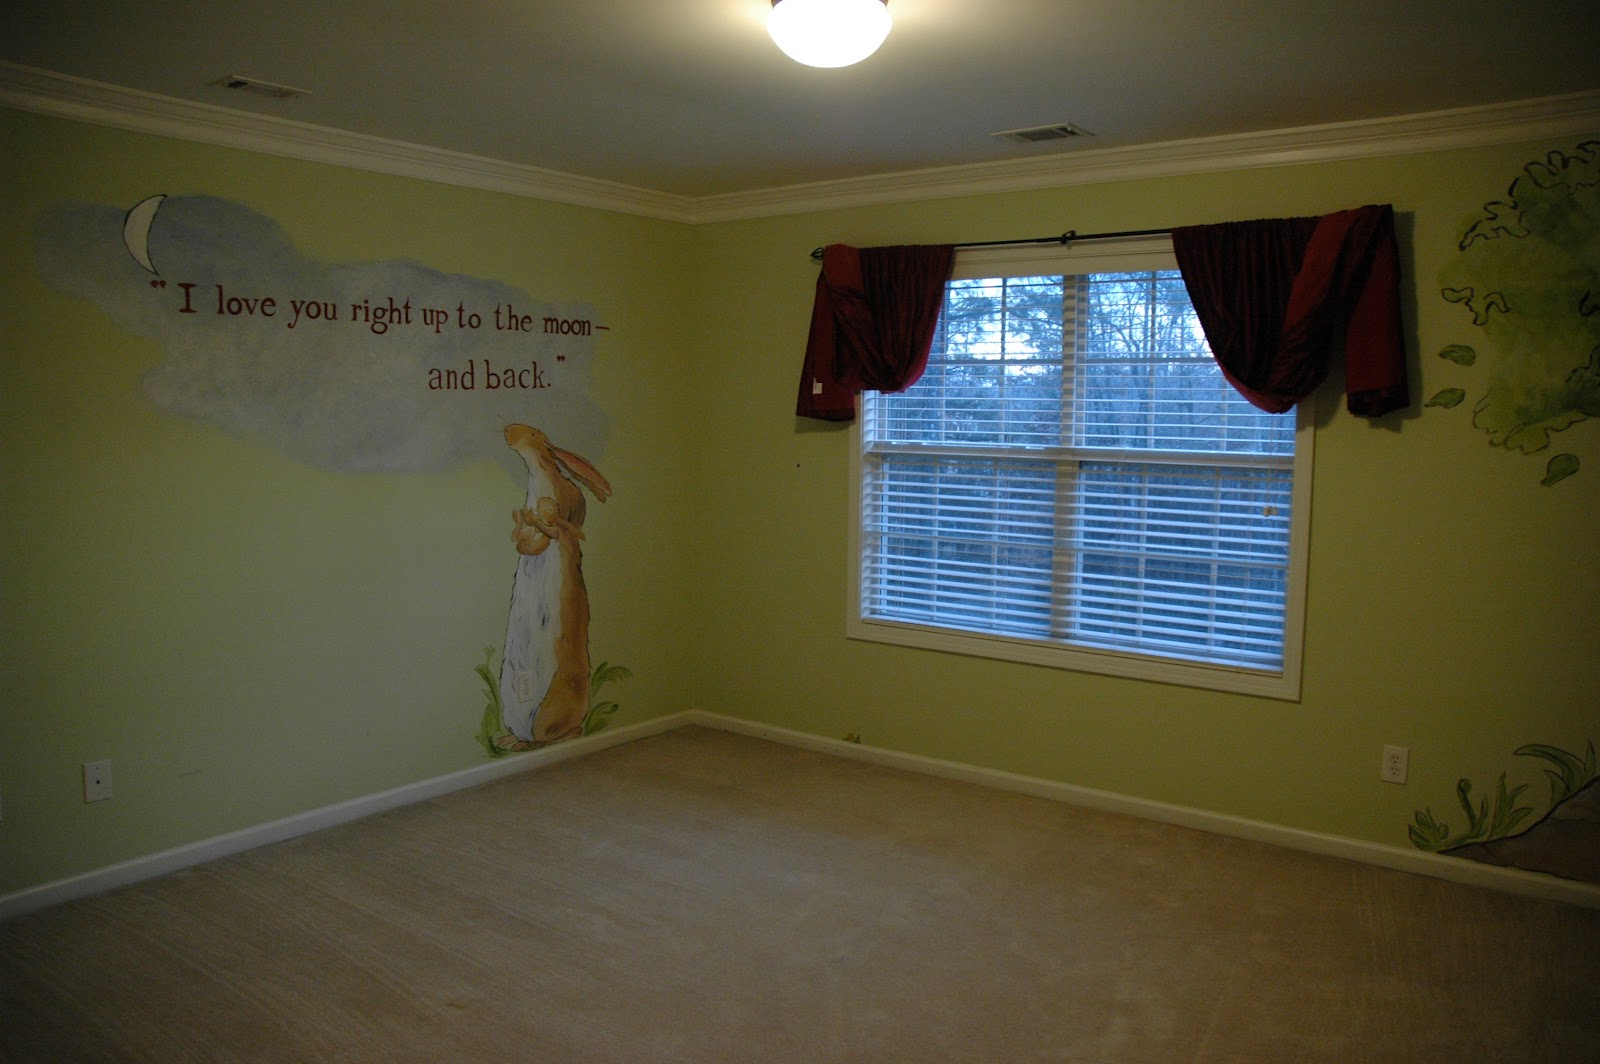
Baby Girl's room


Wow, that was a ton of pictures. I haven't made any of the back porch and backyard which was a huge selling point to us. We absolutely love it out there. Another post on that later, promise! We are super excited about our new home and I can't wait to share our projects as we tackle them one at a time...or maybe a few at a time :) 
Stay tuned!
Pin It!

Sunday, January 29, 2012

Big Changes!

I know, I know. I said I was going to get better with updating the blog but I'm kind of not to blame now. We SOLD OUR HOUSE! Yep, we said goodbye to our sweet home of five years and moved in with my parents :) We have been searching and searching for a new home since we closed on the house at the beginning of January. We finally made a decision last week and have put a contract on a house that we absolutely love! Lord willing nothing goes wrong with the process, we should close on our house at the end of February - wahoo! This nesting pregnant mama is relieved! Nothing like cramming in a move to a new house two months before giving birth but that's how we roll :)

We are just thankful to be able to have a home to move too. Our poor state was ravaged again by tornadoes last week and this time they were way too close to home. The three surrounding towns of my parents home and our future home were struck and suffered the most damage. My grandmother's house included. Thank goodness they were safe in the basement and only had some minor damage. Most of her neighbors however, weren't as fortunate. It's surreal to see these streets and houses that you have driven by on a daily basis that are now just piles of sticks. The landscaping wiped out. Please pray for those who lost their homes and especially for the families of the 3 individuals who did not survive the storm. I am so proud to be from a community who comes together and volunteers their time and efforts to help out with the storm victims. Everyone works together and truly cares about their neighbors. I love Alabama!

So while I won't have a lot to post about before we move in the house, I have lots of plans and ideas (thank you Pinterest) for our new abode once it's officially ours. Stay tuned!
Pin It!

Monday, December 5, 2011

I'm back! And bringing some Christmas decor cheer

Hello to anyone still following along out there! Gosh it's been a while. Lot's going on over on my end. You know how they say when people stop bloggng for a while they are probably pregnant...and it's true for me! I am now 20 weeks along and due in April with a precious baby girl. We are thrilled! So since I was completely overcome with morning sickness (and it just recently began letting up) I haven't had much time or energy for projects. I should be able to get back on the bandwagon now and keep Mommy's Nook updated!

Today I'm sharing a little bit of my candy cane dining room Christmas decor. This was something new for this year and I'm loving how it turned out.


I first got the inspiration for this particular color scheme from the napkins. I had about two yards of this red and white striped fabric that I used at my son's birthday party. I thought it would make perfect little napkins so I whipped up 6 of them. Just measured and cut the same size as my other napkins and hemmed the four sides. Very easy.


Then I started searching for more candy cane/peppermint items to tie in. I found two 4 inch styrofoam balls at my local Dollar Tree and simply hot glued peppermints on them to make the peppermint balls. Side note: I have never seen this size styrofoam ball at the dollar store before and they only had these two. I was pumped since they were $1 each and are usually about $5 in craft stores. It took almost an entire bag of peppermints to make one ball if anyone wants to make one themselves. And it takes about 30 minutes. Quick, easy and cheap. Love it!


I had the faux poinsettias on hand already and just stuck them down in my pitcher to finish off the table. I can't ever have a real poinsettia since they are toxic and my cat enjoys nibbling on plants. Oh well!

And here is the mantle with it's own peppermint spin.


I found the three candlesticks at the thrift store and spray painted two of them white and one red and then stuck some little ornaments on top. 


This adorable printable was free! Found it on Pinterest here. 


I piled some ornaments in the bird cage, stuck a few in a vase filled with sand, another under a small cloche and called it a day. I love grouping ornaments together in unusual places. They can go anywhere! I found the candy canes at the Dollar Tree as well and just grouped them together in a mason jar on the books. The two giant candy canes in the white vase were also found there.


There you have some fun and festive decor that would look great in any room. Happy decorating everyone! And Merry Christmas!


Pin It!

Wednesday, August 17, 2011

Pillow Palooza: Part 2...Tea Towel to Pillow

As promised (I know you were all anxiously awaiting) here is my next pillow!

While organizing my hall linen closet I came across this lovely tea towel I received as a hostess gift for a baby shower. I have always loved it but never used it for fear of ruining it. But what was the point in keeping it hidden away in a closet, never to be seen?


After unfolding it I realized it would be the perfect pillow!


My headless-looking assistant agreed.


I ironed the towel and then laid it back flat. I then folded the fabric over, wrong sides out.

I decided to trim some of the edges so the pillow would not be so wide. I folded over the material on each side being careful to measure equal distance between the initial in the middle. Side note: the towel itself was a little off measure to the initial hence the wider fold on the left.


Here it is pinned together (inside out of course) but the right side still had to be trimmed of the excess fabric.


Then I sewed the two pinned sides together. The top obviously did not have to be sewed since this was the fold in the fabric. 

Finally, I sewed the bottom about 3/4ths of the way closed, leaving an opening for filler.

Here it is flipped right-side out.


I filled 'er up using my usual Poly-Fil and managed to squeeze the fatty pillow into the sewing machine to finish up the last quarter of the bottom seam. 

I TOTALLY heart this pillow and I'm so glad people can actually view it now :)

Please excuse the couches. Oh how I hate the micro suede... 


Here's to digging in the closets and using what you have :)

Partying Here!


Pin It!