Good, I kept my word. I'm back with another post and it's not three months later :)
I knew I wanted to find baby girl an antique dresser as soon as we bought her crib. We lucked up and located a crib on Craigslist. Now here me out on this one. We didn't buy some nasty old bed for our precious little angel to sleep in. We browsed the baby furniture shops and the beds we liked were of course way too expensive for us. So after a day of window shopping, I decided to try Craigslist for this particular bed we liked - and there was one! It's this
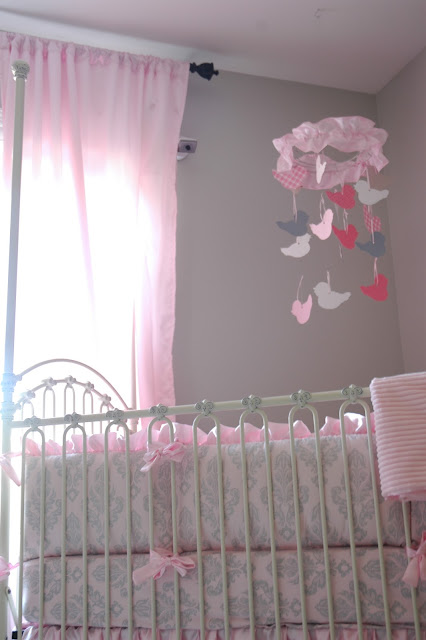
Bratt Decor Venetian Crib in antique white (I will have photos of it soon when I show her completed room). We went and checked it out first and the family was super sweet and their little girl had only used it for a year. We met her too and she was a doll. Anyway, they had the bed all set up and we looked it over really well and it was very sturdy and there was not a scratch to be found. And one of the pluses of a cast iron crib, no bite marks either. So anyway, we took it off their hands for half of the retail cost. Cha-ching!
But more on the crib later. Wasn't this post supposed to be about a dresser?
The search was on for an antique dresser that would compliment her crib. We looked at a few antique shops that had a few pieces already refinished but none that I really loved. Not to mention I could not find one that was the color I wanted and since the price of refinished furniture is already higher, I didn't want to put too much cost into something that I was going to change anyway.
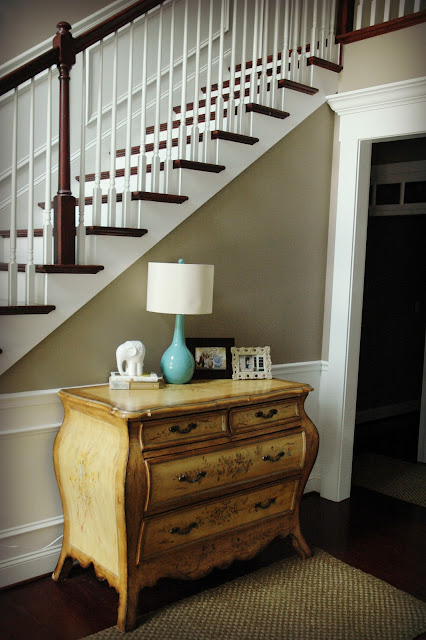
After a trip to a local flea market (Gardendale Flea Market for anyone in Birmingham), I found this dresser sitting with a $100 price tag. Pardon the iphone pic.
I looked it over really well and it was in great shape. The drawers slid out nicely too. That's always something to check when looking at older pieces. I decided to see if I could get it for any less so the nice people at the flea market put in a call to the vendor and he said $85 was the best he could do - sold. I thought it was a great deal for such a heavy, nice piece. It just needed a little love in the looks department.
We bought this while we were staying at my parents house during the interim of moving out of our old house and before finding our new one so it sat for a bit. Once we moved in the new house and settled down some it was time to waddle my pregnant self out to the garage to work on this baby.
First thing was to remove all the drawers and hardware.
My plan was to sand down the top portion and restain it and then paint the remaining portion an antique white to match the crib. The previous owners of our house left several cans of leftover paint and stain and wouldn't you know they left the color stain I wanted for this - Minwax Dark Walnut. Since that part was taken care of it was off to Lowe's to buy paint. I simply took the top finial from the crib and color matched for the perfect paint color. I used Valspar's Pontoon White in a semi-gloss finish.
My sweet husband did all the sanding for me with the power sander. For your FYI it does take a little bit of time to get it all off. And your hand may or may not shake for 30 minutes after you finish. But hey, my hubs is a sweetie and doesn't mind :)
There was a small place at the back of the dresser that was messed up but a little wood filler took care of it.
After cleaning the entire dresser like a crazy, nesting pregnant woman, (oh wait, that's what I was) I got to work priming. I decide to paint first before staining since I figured I was more likely to get paint on the top of the piece than to get stain on the paint. Make sense? Probably not. Anyway, moving on. I used my Zinnser oil based primer which does a great job.
These are the three products I used on the base of the dresser.
After sanding and priming.
After the primer dried for 24 hours I went back with the paint. I used
Centsational Girl's recommedation for Floetrol (photo up above), which is a paint conditioner that you add to latex paint. It helps give a smoother finish which is great when you hand brush like I did. I was very pleased with it. I also went ahead and bought a good brush (Purdy) and it definitely made a difference. Its worth the extra money.
Here it is after painting two coats and sanding lightly in between each coat. Be sure you wipe it down before applying another coat of paint.
Next was the stain. This was my first time to stain a piece and it was actually very easy! I used a 2 inch foam brush and applied a nice even coat along the top. Then I waited about 20 minutes and removed the excess liquid by wiping it down carefully. I wanted a nice dark stain so that's why I left it on there so long. And that was it!
After the stain was dry I applied two coats of polycrylic to protect the surface and give it a nice sheen.
This is the stain and poly I used. I used the poly on the base of the dresser as well.
Then it was time to focus on the hardware. I liked the look of the original hardware but it was very dull and gross. I washed it all with soap and hot water and then cleaned each piece of it with Brasso to remove the yuckiness and restore it to its original color.
Here is some before and after using the Brasso. Yeah, much better. As you can see from the nasty paper towels, those things had gunk all over them.
And although they looked much better, it still did not have the look I envisioned.
So I decided to go with some ORB (oil-rubbed bronze) spray paint.
Tip: If you need to spray paint small screws, an easy trick is to stick them down in styrofoam so you can cover them easily with paint.
Once everything cured up for a few days I put all the hardware back on and it was moved up to the nursery.
One more of the Before...
And After!
I was nice and gave you a sneak peek of the nursery. Hopefully I can have finished nursery photos up soon!
So that's my long tale of refinishing a dresser. It took some time and hard work but I'm glad I was able to do this for her.
More projects coming soon!
Linking up here!


