Tuesday, June 12, 2012

Making Progress

Hello World. The Mommy in the Nook is back.

Since I last posted back in March we have been busy bees around our new abode. Since our baby girl was due in April we were trying to beat the clock and get things set up around here before our little missy arrived. Then we welcomed our sweet girl on April 19th and house updates changed over to adjusting to life with a toddler and a new infant. She is now 7 1/2 weeks old and I think we have arrived at our new "normal". She fits right in with us and we love her to pieces! We once again picked up on house progress and I wanted to share a few of them. Nothing is completely finished yet but it's much better than the empty house photos in my last post!

I have lots of projects in the works and a lot that are already completed that I will share soon. Hopefully I am back for good this time!

Also, since I personally like to know where things come from when browsing other blogs, I will caption the photos with as much source info as possible.

First up is a little B & A at the front entrance. After we moved in I popped this coat rack in the corner and we just recently added the frame to the wall. Besides needing a picture for the frame I really thought a punch of color would look great on the coat rack.

Coat Rack - TJ Maxx find
Picture frame - Ikea, Virserum collection

And blue was the color of choice! I used a metallic blue by Rustoleum. I can't remember the exact name of the shade. I will try and update the post later with it. Definitely much better, right? And a new picture of our family of four completed the look :)


Love!


Remember how our foyer looked before...


And here is our Progress. We added our bombe chest that we previously owned along with a lamp and a few accessories. I want to add something to that wall as well. 

Bombe chest - Alabama Furniture Market
Lamp - Marshall's
ceramic elephant - flea market

Next up is the dining room off of the foyer. Here is how it was when we moved in.


And our Progress. We removed the existing curtains and replaced with the ones we had in our old living room. We also sold our old dining room table so we bought a new one along with an antique buffet. We need chairs and I want to replace the light fixture. The mirror was one we already owned and it was a brown metal with a scroll-ish pattern around the edge. I painted it white and didn't get every crack and crevice so it gave me the distressed look I wanted. The "boat" as I call it, on the table was black and I spray painted it aqua blue. Once again I can't remember the color but I will update the post later with it. 

Curtains and rug - West Elm
Dining Table - IO Metro
Buffet - local antique shop
Lamp - HomeGoods

Up close shot of the table and buffet. The picture frame on the left holds a photo of my grandparents when they were on their honeymoon. I used to keep it on my yellow phone bench in our old house. The bench belonged to them and it's very special to me.

White ceramic owl - Z Gallerie

Our living room is still a work in progress and I have a few more touches to add before I show the whole room. But here's a peek at it!

The Before


And here is the Progress.

Our mantel. I'm so proud of it this because it has been bare until this past weekend. Yeah, almost four months of nekkedness. I had a few things sitting on it but we didn't add the mirror until Sunday. Yay for a decorated mantel!

Mirror & Aqua picture frame - Z Gallerie
Mirrored vase & antique gold picture frame - Marshall's
Birdcage - TJ Maxx
"M" - Hobby Lobby (originally gold but painted aqua)
navy vase - Old Time Pottery (originally rust colored but painted navy)

This is the long wall on the left of the before picture. We really needed something to ground the TV since we mounted it on the wall and this media cabinet was the perfect solution. The hubs desperately wants a bigger TV to balance out the huge cabinet. I see his point but I think it's going to have to wait for now :) I have to find a good solution to hide those cords and we still need to cut a hole in the back of the cabinet so we can fit the cord of the cable box in there and house it in one of the glass cabinets.

Media Cabinet - IO Metro
Picture frames - TJ Maxx & Marhall's
Vase - Hobby Lobby
Blue DVD boxes - Walmart
Aqua box - Z Gallerie
 This last picture is taken to the left of the media cabinet. We have an identical chair on the right of the cabinet as well along with a floor lamp. I love this little corner. We just need something to hang on the wall to complete the look.

Chair & black pattern pillow - Haverty's
Navy pillow cover - Etsy
Side table - Marshall's
Lamp & yellow basket - HomeGoods
That's all for the updates today. I have a few more tweaks in the kids rooms and I will share those soon along with a few more things we have done and plans for the rest of the house. Lots to do around here!
Pin It!

Friday, March 9, 2012

Welcome Home!

And welcome internet connection! No, really. The Charter guy left not 20 minutes ago and I'm already typing up a post. I have wanted to share pictures of our new house for weeks! We closed on the house at the end of February and have officially been staying here for two weeks today. And we are loving it! I'm so glad the majority of the moving business is done but we still have lots to do around here before it starts to feel like "ours".

Despite the chaos of unpacking, we have managed to tackle a few projects already and I will definitely be sharing those soon! Baby Girl will be here in just a few weeks so we are busying ourselves like crazy to get things ready before our sweet gal makes her appearance.

So in an effort to get this post actually up before my little guy awakens from nap, I will cut the chit chat and show the "Before" photos of the house which were taken the day we moved in. More details on what we plan to do in each room to come soon! I apologize in advance for the poor quality in pictures. It was getting dark when I took them so the lighting definitely wasn't at its best.

Our House! Okay, technically this picture of the outside was taken before our closing so it wasn't ours quite yet but the rest are from after closing :)

Oh and can I just say that the previous owners were FANTASTIC. The home was FSBO so we worked directly with them and it was such a pleasure. They even left us oodles of stuff. Some of which you will see in the pictures and I will point them out in later posts as well.
The foyer from the front door


The Dining Room to the right of the foyer


The office to the left of the foyer and front door. 


The living room (the paneling is one of our favorite things!)


The Master Bedroom on the Main Level. We are actually using this room as a playroom and staying upstairs in an extra room until our kids are bigger.


Master Bathroom. Yes, we are still using this bathroom to get ready in. There is a walk-in closet in here as well but no picture.


The kitchen


From the side door entrance off the kitchen


Laundry Room


Half Bath


My Pantry!


Pajama stairs from the kitchen


Landing/nook area at top of stairs


Hallway of upstairs


Our little man's room


Our room


Bonus space off our room


Full bath upstairs


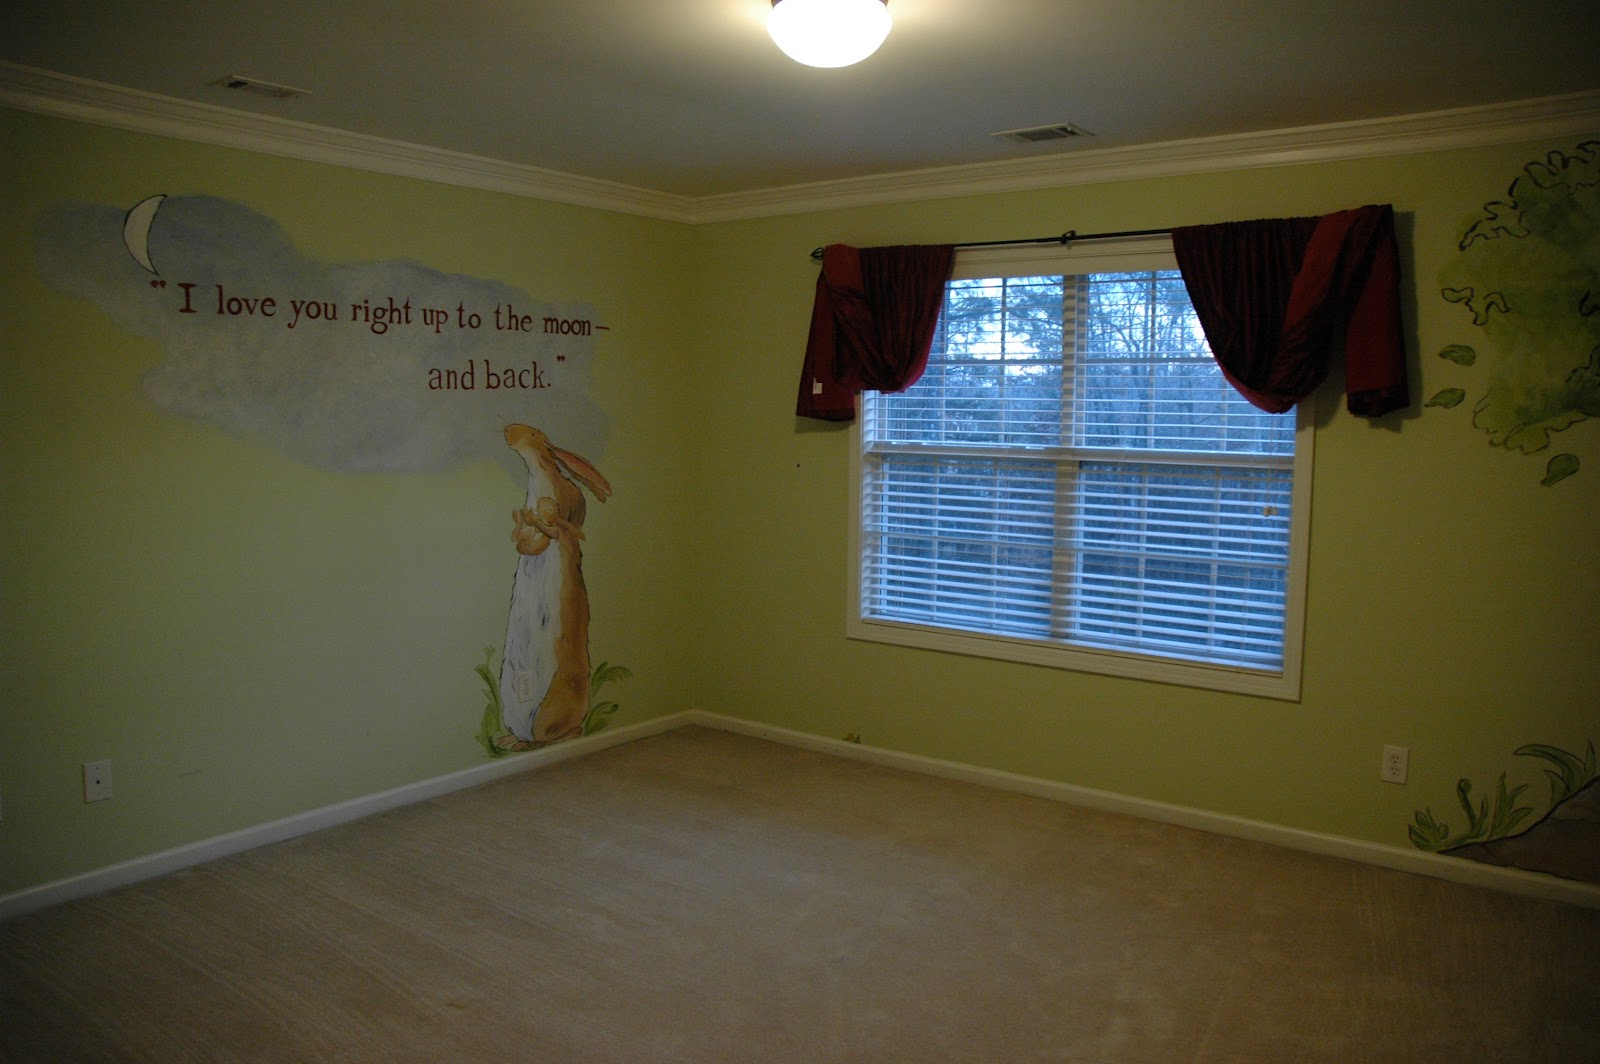
Baby Girl's room


Wow, that was a ton of pictures. I haven't made any of the back porch and backyard which was a huge selling point to us. We absolutely love it out there. Another post on that later, promise! We are super excited about our new home and I can't wait to share our projects as we tackle them one at a time...or maybe a few at a time :) 
Stay tuned!
Pin It!

Sunday, January 29, 2012

Big Changes!

I know, I know. I said I was going to get better with updating the blog but I'm kind of not to blame now. We SOLD OUR HOUSE! Yep, we said goodbye to our sweet home of five years and moved in with my parents :) We have been searching and searching for a new home since we closed on the house at the beginning of January. We finally made a decision last week and have put a contract on a house that we absolutely love! Lord willing nothing goes wrong with the process, we should close on our house at the end of February - wahoo! This nesting pregnant mama is relieved! Nothing like cramming in a move to a new house two months before giving birth but that's how we roll :)

We are just thankful to be able to have a home to move too. Our poor state was ravaged again by tornadoes last week and this time they were way too close to home. The three surrounding towns of my parents home and our future home were struck and suffered the most damage. My grandmother's house included. Thank goodness they were safe in the basement and only had some minor damage. Most of her neighbors however, weren't as fortunate. It's surreal to see these streets and houses that you have driven by on a daily basis that are now just piles of sticks. The landscaping wiped out. Please pray for those who lost their homes and especially for the families of the 3 individuals who did not survive the storm. I am so proud to be from a community who comes together and volunteers their time and efforts to help out with the storm victims. Everyone works together and truly cares about their neighbors. I love Alabama!

So while I won't have a lot to post about before we move in the house, I have lots of plans and ideas (thank you Pinterest) for our new abode once it's officially ours. Stay tuned!
Pin It!

Monday, December 5, 2011

I'm back! And bringing some Christmas decor cheer

Hello to anyone still following along out there! Gosh it's been a while. Lot's going on over on my end. You know how they say when people stop bloggng for a while they are probably pregnant...and it's true for me! I am now 20 weeks along and due in April with a precious baby girl. We are thrilled! So since I was completely overcome with morning sickness (and it just recently began letting up) I haven't had much time or energy for projects. I should be able to get back on the bandwagon now and keep Mommy's Nook updated!

Today I'm sharing a little bit of my candy cane dining room Christmas decor. This was something new for this year and I'm loving how it turned out.


I first got the inspiration for this particular color scheme from the napkins. I had about two yards of this red and white striped fabric that I used at my son's birthday party. I thought it would make perfect little napkins so I whipped up 6 of them. Just measured and cut the same size as my other napkins and hemmed the four sides. Very easy.


Then I started searching for more candy cane/peppermint items to tie in. I found two 4 inch styrofoam balls at my local Dollar Tree and simply hot glued peppermints on them to make the peppermint balls. Side note: I have never seen this size styrofoam ball at the dollar store before and they only had these two. I was pumped since they were $1 each and are usually about $5 in craft stores. It took almost an entire bag of peppermints to make one ball if anyone wants to make one themselves. And it takes about 30 minutes. Quick, easy and cheap. Love it!


I had the faux poinsettias on hand already and just stuck them down in my pitcher to finish off the table. I can't ever have a real poinsettia since they are toxic and my cat enjoys nibbling on plants. Oh well!

And here is the mantle with it's own peppermint spin.


I found the three candlesticks at the thrift store and spray painted two of them white and one red and then stuck some little ornaments on top. 


This adorable printable was free! Found it on Pinterest here


I piled some ornaments in the bird cage, stuck a few in a vase filled with sand, another under a small cloche and called it a day. I love grouping ornaments together in unusual places. They can go anywhere! I found the candy canes at the Dollar Tree as well and just grouped them together in a mason jar on the books. The two giant candy canes in the white vase were also found there.


There you have some fun and festive decor that would look great in any room. Happy decorating everyone! And Merry Christmas!


Pin It!