Tuesday, March 15, 2011

Oops...and a new B&A Project

Oops paint. My new favorite thing. For anyone who may not know what I am talking about, it's discounted paint that was mixed the wrong color and returned to the store. Some stores don't refund paint but Home Depot has Oops paint and I saw some at Lowe's today. You may not spot it right away as there's normally only a few "oopsies" available on a daily basis. Just check with a store associate if you don't see any because believe you me you want to check out the stash. You can get a whole gallon of paint for just a few bucks!

For example, we went to Home Depot last week and stumbled across some Oops paint in THE color I was looking for and it was only five smackeroos. Yup, a whole gallon of Behr semi-gloss paint in a beautiful blueish gray color. And let me tell you...I am in love with it.

Beautiful :)


I busted it out this past weekend to paint a few thrift store pieces I picked up and check out how the color looked. I need more of a visual besides the little dot on top of the paint can :) And would you believe it's the perfect shade that blends with our new master bedroom bedding. We're giving the room a budget makeover and bedding was definitely most needed. A Before and After to come soon on that. But in the meantime I have a little B & A project that I am just smitten over.

We had these brown plaque thingies (real technical) that we acquired right after the Hubby and I got married...about five years ago. Purchased at Kirklands for like ten bucks each. They lived in our dining room at our first house and then moved to our living room in our current house. However, when I painted the living room a mocha brown color, they looked a bit yawnish. They were replaced with a colorful piece of art and the plaques were sent to the garage.

Here is a Before of both plaques.


Now that I've been bitten by the DIY decorating bug I knew I wanted to do something with those plaques. So when we started thinking of a makeover for our bedroom, I knew I had the perfect place for these little guys: right above our bed...which I am sad to say has always been empty. I have a fear of something crashing down on our heads in the middle of the night so I kept putting off hanging anything. These plaques are perfectly lightweight and in case of the unforeseen, thin enough to probably just fall through the gap between our bed and the wall.

Enough back story, back to the project at hand.

I was so pumped to add my new fav color to these plaques. I was a little nervous at first though. I didn't want to ruin them! But I shoved my doubt aside and took a little paint plunge :) And I am so glad I did. I love the result and they are completely perfect in their new spot.

I wanted a shabby/distressed look so my plan was to lightly coat the piece and give it sort of a dry brush look. All I did was take a foam brush with a little bit of paint and starting at the center, lightly dabbed into the grooves. It gave just enough color but still left some of the brown exposed. Sorry I really don't have good process photos. My camera battery was dead so I took a few with the cell phone. After the center was done, I lightly brushed the remaining surfaces and edges but didn't get every nook and cranny, giving it the shabby appearance. It was so easy!


Here's one finished beside the other brown one. LOVE!!!


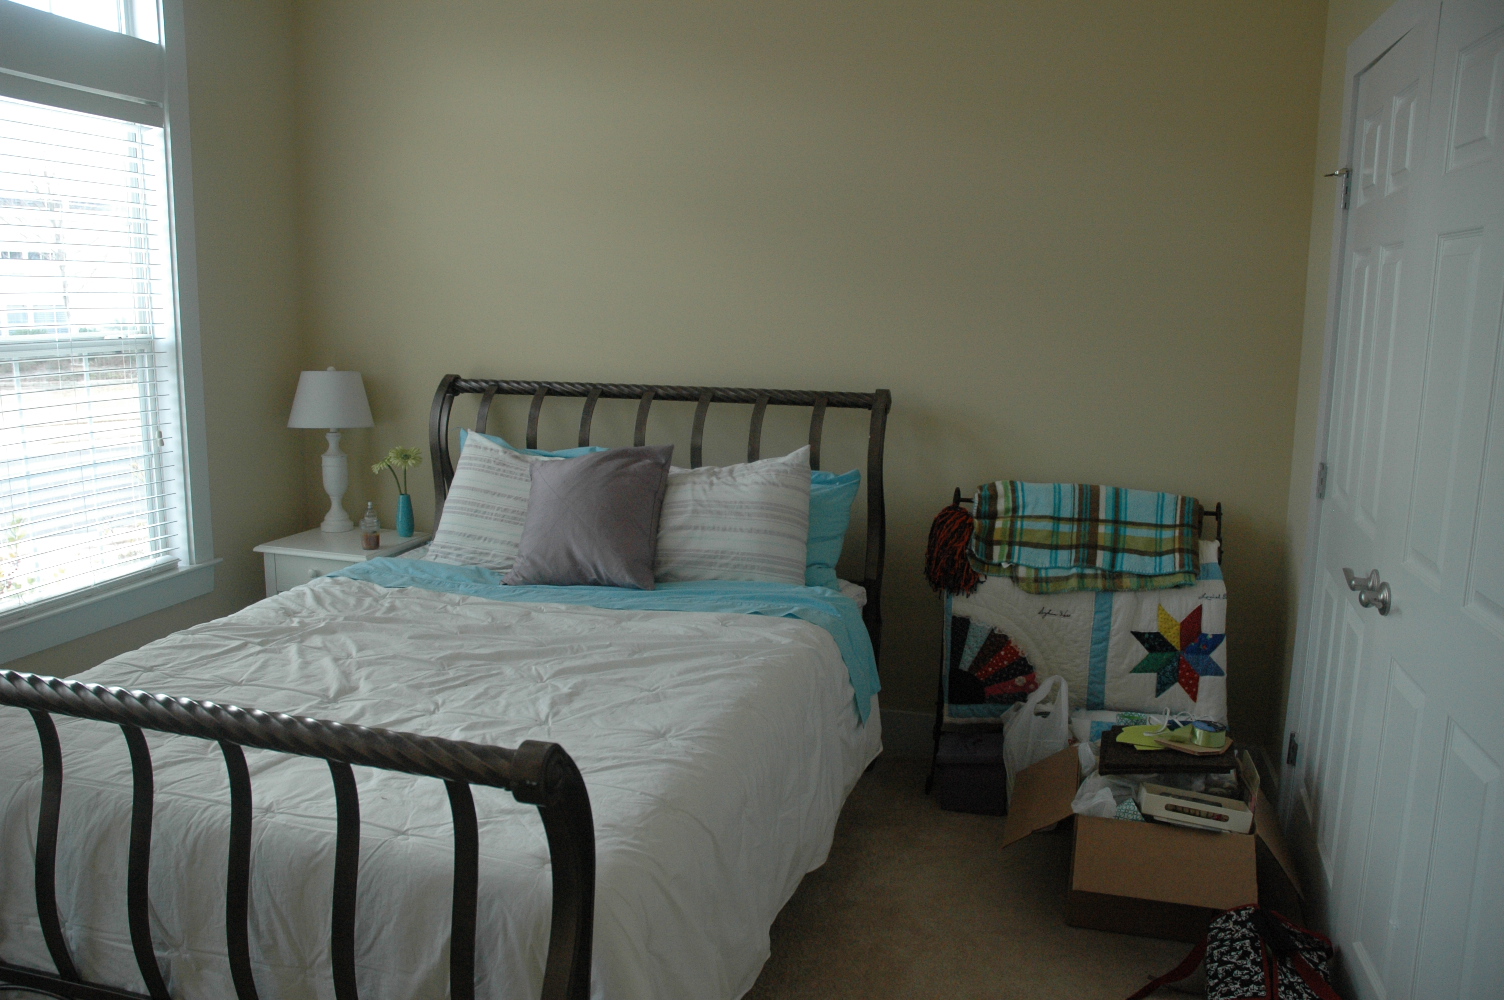
We hung them up last night (very securely I might add) and after my battery recharged, I snapped a few pictures this morning. Sorry for not allowing you to see the whole bed. That's for another post!


I think one reason I totally heart this little makeover is because it cost nearly nothing! Since I had the plaques on hand and only used a few tablespoons of my $5 gallon of paint, I would say this project cost about 25 pennies :) I am already searching for more victims items to try out my new paint on :) Maybe a piece of furniture...

More MB updates coming soon!

Partying Here!


Domestically Speaking


All Things Heart and Home


Make it Yours @ My Backyard Eden
Pin It!

Thursday, March 10, 2011

A Touch of Yellow

As discussed in my previous post, I am working on turning our old guest room into an office/craft room. I painted the walls a nice neutral grey and I am accenting with yellow and a few pops of pink. I wanted something different for this space so I didn't opt for my usual color scheme of greens and blues...plus I wanted something girly :) But in all fairness to my little boy, his section of the room will be decorated sans pink. And his side does include some blue and green (I guess I couldn't completely do without my favorite hues :) with his table and chairs but I think everything will blend well in the end.

I'm currently working on a credenza makeover that will be my main storage for crafting and office supplies.   And once it's done I will have a better idea of how the rest of the furniture will need to be positioned. I'm crossing my fingers I can get it done towards the end of next week!

I have several small projects to work on for the room and one was...you guessed it, a wreath :) I have this beautiful old window that a friend of mine got from a former co-worker. He had all sorts of sizes of windows and for cheap! I've had this thing forever and the original plan was to place photos behind the panes and use it as a large picture frame.

Sorry for the blurry picture. I cropped a room size photo 
But for now I have decided to hang it between the two windows in the new office and dress it up with a pretty wreath.

I knew I wanted a wreath with yellow flowers and of course any "pre-made" wreaths I found were at least $20. I had a twiggy wreath from Michael's on hand (the ones that are like $4) so I went searching for my flowers. Michael's has their faux blooms on sale right now but they were still a little pricey. So I headed to the Dollar Tree to see what I could find. They had some sweet little yellow flower bundles for $1 (duh) each. I bought ten bundles but ended up using only eight.

Nosy Too checking out the twiggy wreath. I laid it out on a towel to work on since these shed a little bit.


And my bag full of Dollar Tree flower bundles.


They had two shades of yellow, one a little brighter than the other. I liked the brighter ones the best but bought a few of the darker shade just to give it a more natural look.


Up close of the two colors.


I laid out the bundles to see how I wanted to blend the colors and of course Toots had to curl up inside the wreath like it was a little nest made just for him. He was obsessed with this thing. He seemed a little ticked when I made him leave...


All I did was cut the blooms off the bundle, leaving enough stem to poke into the wreath. No glueing needed. Although if this was an outdoor wreath I probably would have used a little bit to help keep it secure and weather resistant.

Here it is on the window! Oh and I got the pink ribbon at the Dollar Tree too! 


The window isn't on the wall yet so I didn't do a full shot. It's leaning up against the wall in the picture but you get the idea. I love it! It's so bright and cheery.


And one more up close. 


I can't wait until this is hanging up on the wall. More to come on the office/craft room soon!

Partying here!


Frugal Friday at
Chic on a Shoestring Decorating
Pin It!

Monday, March 7, 2011

What's in a Room?

During the four years we have lived in our home, the front bedroom has been classified as the guest room. We had a queen bed in there and a few random pieces of furniture that didn't really have a place elsewhere in the house. I didn't think much about the room. It was usually closed off because I used it for storing presents, party supplies and other miscellaneous items resulting in sort of a junk room. I would always get it fixed back up for an overnight guest...all 7 times we had someone stay over in the last four years. And the realization struck me a few weeks ago: Why am I not using this space for something else? I mean...my son had only been in that room a handful of times and he is 15 months old! I decided then and there something had to change.

Hubby and I discussed and here is the new plan. The room will be an office/craft room/small play area for our sweet P.  That's a lot rolled up into one room :)

We have already made some progress on the room and I am loving the open space. It feels like an addition on the house because we are actually using the square footage.

Here's a few Before pictures. My favorite thing in the room are the transom windows. They are also on our living room windows since both of these rooms are at the front of the house. The paint color was a standard neutral color that we picked when the house was built. Disclaimer: We only had a choice of about 6 neutrals and it was only a swatch...didn't turn out like I had hoped. It's kind of blah yellowy color and just not what I want. This color is also in our kitchen and I am DETERMINED to get it painted as well. But that's another day.


Excuse the big ole box of craft stuff
I snapped these pictures one Sunday afternoon and then we set to work taking apart the bed. Out to the garage it went. We have an unfinished upstairs area above our garage that's perfect for storing this kind of stuff. Once the bed was out of the room it made the whole space seem huge! Me: grinning like the Cheshire cat :)

My vision for the office desk was to make a desktop out of an old door and add a piece of glass to the top. But with much searching I could not find one within the price range. I found a nice wooden desktop on Ikea's website so two weeks ago we journeyed to our nearest Ikea...two hours away in Atlanta, GA. We only go once or twice a year so I got to work planning our shopping list. In addition to our desk I wanted a table and chairs to add to the office so baby boy can have a place to get creative. We also got two bookcases that were originally planned for P's closet but may end up being used in the office. A few picture frames later and we successfully completed our trip. Thank you tax return!

The following Monday I headed to Home Depot for paint. I wanted a nice neutral grey shade and decided on Behr's Gentle Rain in a flat finish.  I bought one gallon. I have used their paint before and never had such a problem as I did with this particular paint. I rolled 3 walls and was out of paint. One coat. No cutting in. And I barely finished that third wall. What the heck? The room is not that big but geez...3 walls? That's it? Back to Home Depot I went and it took nearly the whole second gallon to roll the 4th wall and put a second coat on later. Oh and I only cut in once...good grief. I may go a different route next time. But anyway, the final result turned out wonderful! I love love love the new color. What a difference a coat (or two) of paint can make.

Here's a Before of the wall again with the bookcases we bought at Ikea. I moved these to the other wall for the time being though.


And now after the Gentle Rain graced the walls. I may be painting this bookshelf white. We shall see...and those dark looking spots must be from my lens...gotta wipe that down. I removed some of my Hubby's books because he NEVER reads so I have some free space to add the rest of my books. I'm a self-admitting book nerd.


And a few more pictures of the rest of the room. Keep in mind this is a "rough draft" of furniture placement. I have more pieces to add so I know there will be lots of rearranging. 

This is our lovely wooden desktop we purchased at Ikea. It sits on top of two trestle legs that look like little sawhorses. I'm going to paint the legs and leave the top as is. I love the natural color of it. 


This is the opposite wall where P's play area will reside. There's his cute new table!


Up close of the table and chairs. I love these. Durable but lightweight and totally cute.


And little guy enjoying a book at his new table. Sweet boy.


There is still lots to do in here but we've made a great start. I bought a credenza and desk chair at the thrift store the other day...$25.00 for both pieces! More to come on those soon as well as more on the room itself. Hope you enjoy it so far!
Pin It!

Tuesday, March 1, 2011

Cabinet Transformation...Finally!

I have been working on a cabinet revamp for a while now and I am yippy skippy to say it's finally done! I didn't realize how long I had been working on it until I saw the date of the before picture I took...January 2nd! Good grief. Had we not been subjected to 30 billion several snow days and freezing temps, I would have been done much sooner. But I wasn't about to freeze my tail off in the detached garage.  We Alabama girls aren't made for such weather. And in hindsight, I probably should not have tackled such a large piece for my first furniture makeover but it was totally worth it in the end.

So without further adieu...I present my new and improved cabinet!


I think it's stunning :) Now to the nitty gritty. We bought the cabinet on Craigslist for $50. My Hubby and I went and picked it up together of course. Never go alone! This is technically a curio cabinet but I'm using it more as a china cabinet in my dining room. It didn't come with any shelves but my awesome Daddy is cutting some wooden ones for me. Once those are done I will post a picture. 

As you can see in the Before picture above, it was not very pretty but had oodles of potential. First off, I cleaned her up by wiping down with a damp cloth, removed the hardware and sanded it down. I didn't do a ton of sanding, just enough to get the shiny stuff off and give a good surface for the primer. I used Kilz primer because it's what I had on hand. Here it is with a coat of primer.


I wanted to paint the back panel inside the cabinet a dark gray blue color to give it some contrast. I chose a blueish shade to offset the dining room color which is a light blue. And it only cost me about $3. Home Depot sells samples of paint for like $2.97 and that was all it took. But just a warning, the samples only come in a flat finish. It was just fine for what I needed. Sorry about the lighting in this one. It was out in the garage at night and I used the flash, gulp. And those lines are from the doors.


I wanted the same distressing technique from Centsational Girl that I used on the Shelf so the next thing I did was break out the expresso spray paint and coat the edges of the cabinet. Now I KNOW I took a picture of the painted edges but I cannot find it anywhere on my computer. Maybe it's because it looked pretty hideous at the time and it's embarrassed to be shown in such a state. Who knows? But you can check out the shelf pictures and get the idea. I basically sprayed every edge that I wanted to be distressed. I did not tape the windows or anything and a little bit of spray paint got on the glass. I just scraped it off later. Much simpler than taping things up...in my humble opinion. 

The paint I used was Behr's Swiss Coffee in semi-gloss. And I used about 75% of a quart sized can. I worked in sections and painted an area, let it dry for about 30 seconds, and then using a baby wipe, wiped down the edges to expose some of the brown. Now the disheartening part, the first coat of paint did not completely cover the "extra" brown that wasn't to be distressed. So...I had to do the entire process TWICE. Paint and expose. Let it dry and then do it all again. That was definitely the most time consuming part of the whole project. Here's a series of pictures showing the "distressing" process.


Once the second coat completely dried, I broke out the razor blade and started scraping excess paint off of the glass doors. And yes, my razorblade is pink...part of my case of pink tools my sweet Mama gave me :) It's perfect for keeping inside the house to fix small things.


As for the hardware, I bought four knobs at Hobby Lobby for about $3 each. Two of them are vertical for the glass doors and I turned the two at the bottom horizontal. Love them!


Whew...what a whirlwind. I'm so glad it's done. Now I just have to get the shelves primed and painted and it will be good to go. Here are a few more After pictures for ya. 

View from the front door. And a sleepy little doggy squeezed in the picture too. 


I hope you enjoyed this transformation. I love my new cabinet! And I came in right under $100 for the total project. Pretty good for a big ole cabinet :)

Lots to come on my new soon-to-be craft room so stay tuned!

Linking up at these awesome parties!
Domestically Speaking


Transformation Thursday


Becolorful
Furniture Feature Fridays

Chic on a Shoestring Decorating


Designer Garden


Pin It!